DIC System
Digital Image Correlation for Strain Mapping
More data with less effort, Engenuity’s DIC system allows area strain mapping without the hassle of strain gauging. Used in combination with highly controlled, printed DIC speckle patterns, custom designed and manufactured Ɛ-Cams and Engenuity’s dedicated processing software, you can get instant results for properties such as Modulus and Poisson’s Ratio.
Our solutions are available to purchase or license and we offer world class support to get you up and running.
Contact us now and learn how we can improve your laboratory
DIC System
Engenuity Ɛ-Cams are high resolution camera system for digital image correlation for strain mapping. They are ideal for several range of tests and can be used in a variety of testings.
System Features
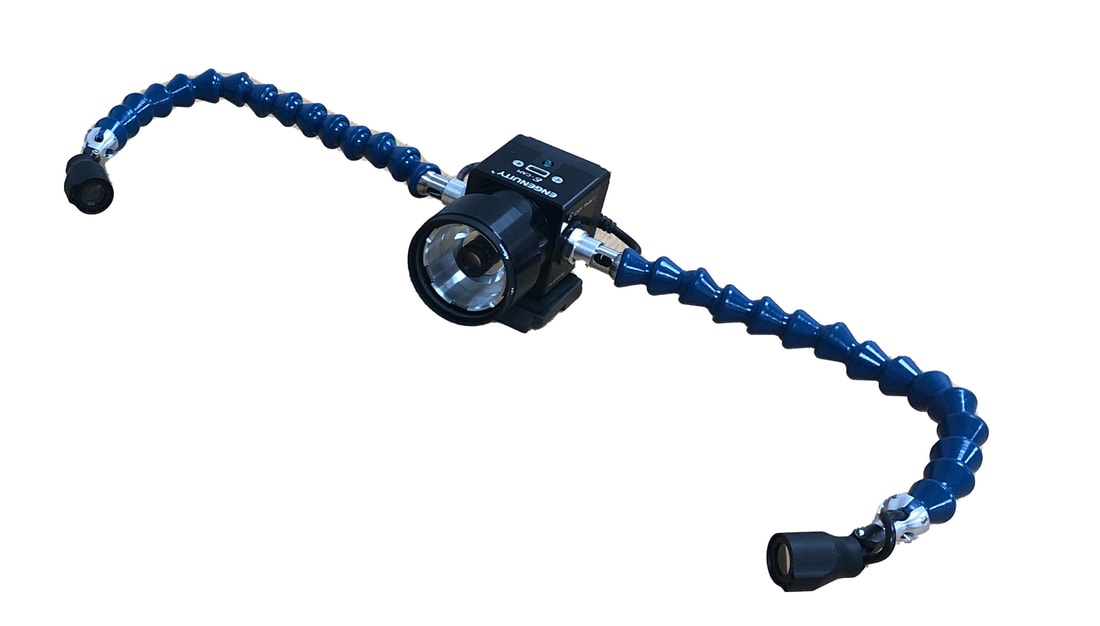
- Built-in led lighting, adjustable light levels on flexible mounting arms
- One simple connection to each camera, all required power and data is combined into one USB-C connection
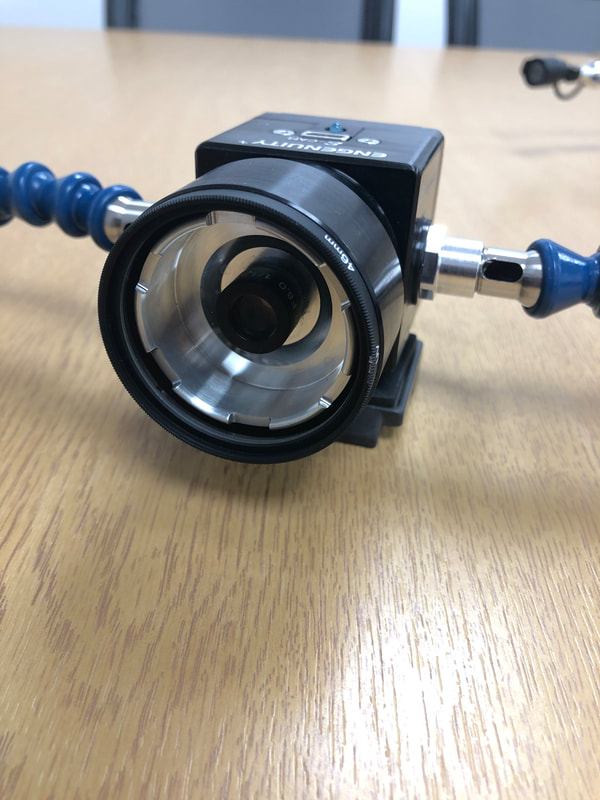
- Interchangeable lenses for different specimen sizes and dot size
- Replaceable glass lens protector cover (industry standard digital camera item)
- No fan or air cooling system required to regulate camera temperature, suitable for use in conductive carbon dust environments
- External signal data acquisition system included, can be used for synchronising loadcell or strain gauge measurements.
- Supplied in a durable storage case
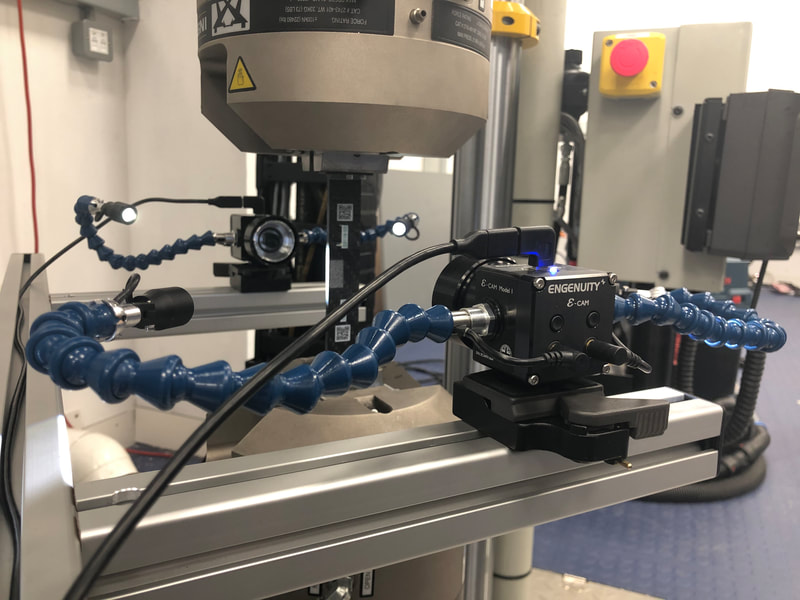
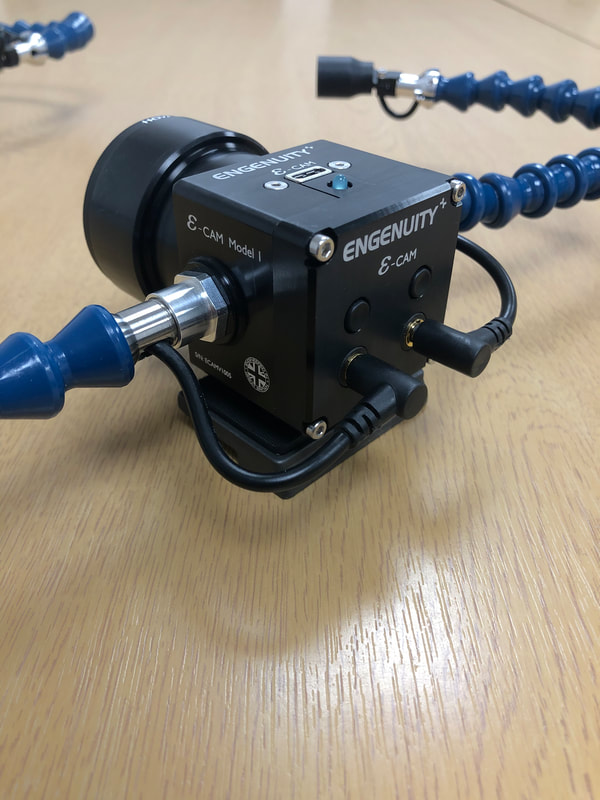

Images of our custom-designed Ɛ-Cams

Range of Tests
- Tension (ASTM D3039 or similar)
- Compression (ASTM D6641 or similar)
- Shear (ASTM D7078 or similar)
- In-Plane Shear (ASTM D3518 or similar)
- Engenuity Cyclic Shear Degradation Test
- Interlaminar Double Beam Shear (ISO 19927)
- Short Beam Strength (ASTM D2344 or similar)
- Other standards available upon request
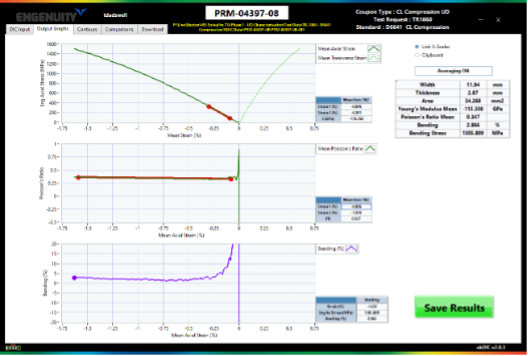

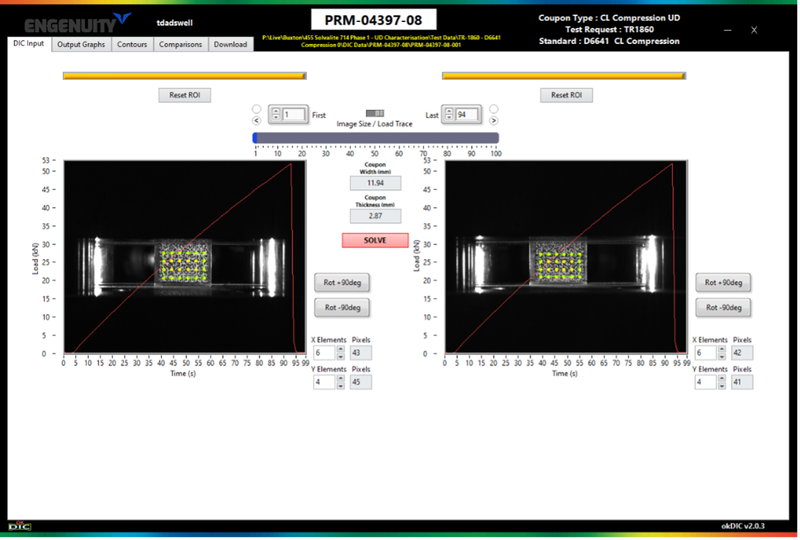

Sequence of Images showing Digital Image Correlation for Strain Mapping
Optional Upgrades
- Laboratory information Management system (LIMS) integration to link to test results, measurements and material details
- Multi-channel data acquisition expansion pack (can include strain gauge module, digital inputs, analogue inputs)
- Test machine-camera mounting system can be supplied
- Choice of colour and markings on camera cases to match organisation branding
Applications
Digital image correlation systems are extremely adaptable instruments for evaluating 3D motion and deformation in mechanical testing. As a result, the applications for these sensors are numerous and can be used in a variety of testing, including :
- Specimen testing
- Mechanical testing
- Modulus measurement
- Poisson’s Ratio measurement
- Video recording of testing for future reference (without DIC Strain Measurement)
End User Types
- Materials Testing Laboratories
- Research
- Universities
- Material Manufacturers/Suppliers
- Quality Assurance
- Independent Testing Organisations
Technical Specifications

Overall Dimension of housing :
W: 50mm wide
D: 80mm deep
H: 55mm high
Connectivity :
It uses 1 USB type C connector for power and connectivity straight from the computer, no additional power supply is required
Source Power :
USB connections from the computer
Our network of experienced sales engineers at Engenuity are happy to assist you with any question on the use of these equipments. With over 30 years of experience, our team will find the configuration that will perfectly fit your needs.
Contact us now and learn how we can help you improve your Laboratory
